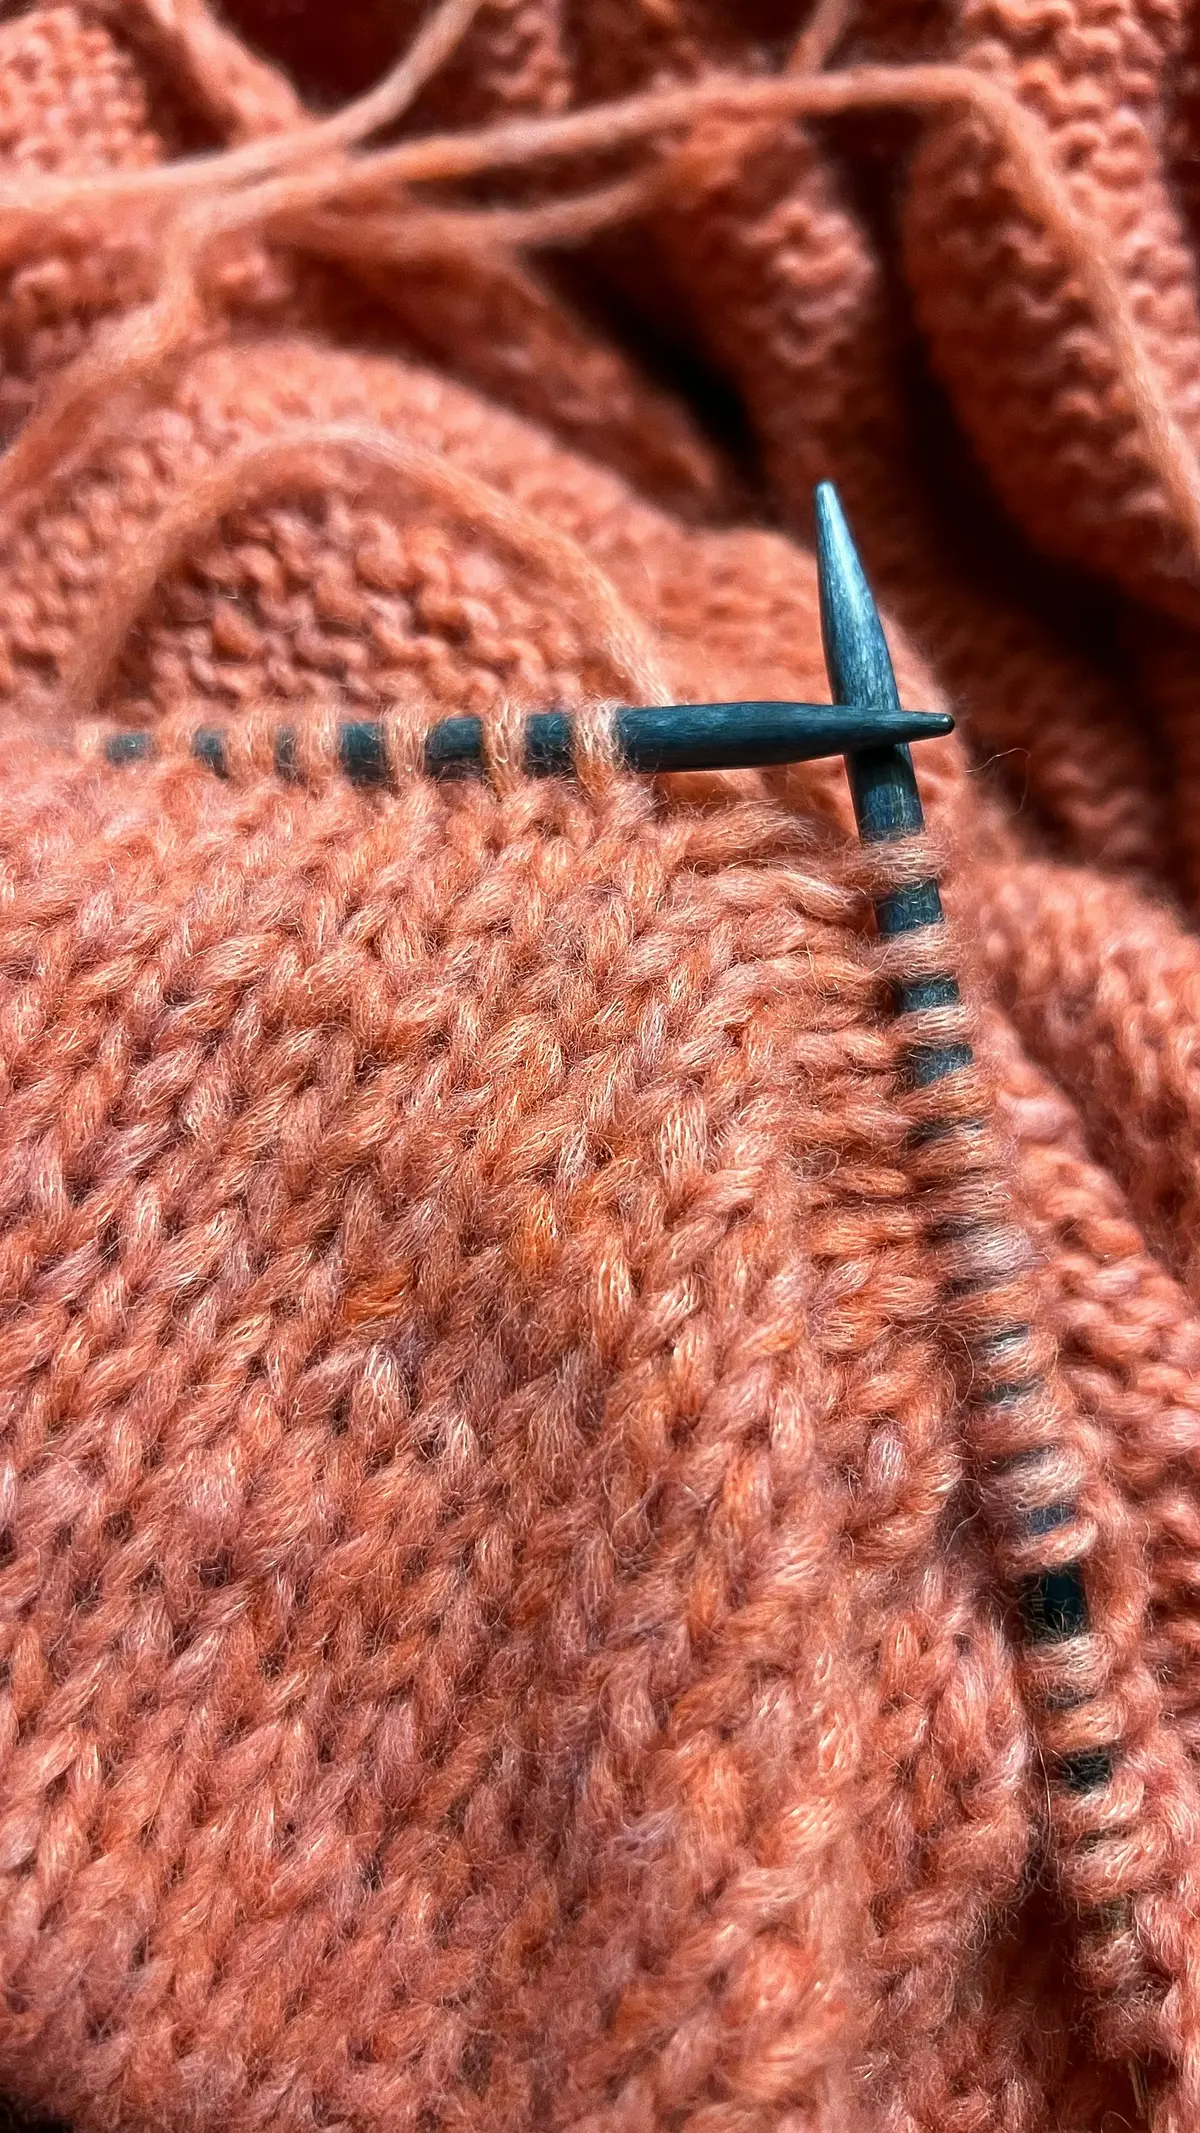
In short
To bind off, knit two stitches, then use the left needle to lift the first stitch over the second and off the right needle. Knit one more stitch and lift again, repeating until a single stitch remains. Cut the yarn, leaving a tail of about 6 inches (15 cm), and pull it through that last loop. Work loosely so the edge stays stretchy.
Binding off, called casting off in British patterns, is how you finish your knitting. It links each stitch to the next as it takes it off the needle, so the work cannot unravel, and it leaves a neat chain along the top edge. You bind off at the end of almost every flat piece, and patterns also use it partway through a piece for shaping, for example at an armhole or a buttonhole.
This tutorial teaches the standard bind-off, which works the same way whether you knit in English or continental style.
What you need
- Your knitting, with all the stitches on the left needle and the working yarn (the strand attached to the ball) ready at the start of a row.
- A right needle: the one you have been knitting with, or one a size or two larger (see below).
- Scissors and a tapestry needle, a large, blunt needle for weaving in the ends.
How to bind off knitwise, step by step
- Knit the first stitch.
- Knit the second stitch. You now have two stitches on the right needle.
- Insert the tip of the left needle into the front of the first stitch you knitted (the one farther from the tip of the right needle), from left to right.
- Lift that stitch over the second stitch and off the tip of the right needle. One stitch is bound off, and one stitch remains on the right needle.
- Knit the next stitch from the left needle. There are two stitches on the right needle again.
- Repeat steps 3 to 5 until the left needle is empty and a single stitch remains on the right needle.
Once you find the rhythm, it becomes: knit one, lift over; knit one, lift over.
How to fasten off the last stitch
Securing the final loop is called fastening off.
- With one stitch left on the right needle, cut the working yarn, leaving a tail of about 6 inches (15 cm).
- Pull the last loop gently upward to make it larger, then slide the needle out of it.
- Pass the end of the tail through the loop.
- Pull the tail firmly to close the loop.
Your edge is now secure. Leave the tail hanging for now; you will weave it in once you are happy with the edge.
How to bind off purlwise and in pattern
Binding off in pattern means working each stitch the way it appears as it faces you, so the edge matches the fabric below it. The lifting move never changes; only the stitch you work before each lift does.
Purlwise bind-off
- With the yarn in front, purl the first two stitches.
- Insert the tip of the left needle into the front of the first stitch on the right needle (the one farther from the tip), from left to right.
- Lift it over the second stitch and off the needle.
- Purl the next stitch.
- Repeat steps 2 to 4 to the end of the row, then fasten off the last stitch as above.
Binding off in rib
- Work the first two stitches as they appear: knit a stitch that shows a V, purl a stitch that shows a bump.
- Lift the first stitch over the second and off the right needle.
- Move the yarn between the needle tips into position for the next stitch: to the back for a knit stitch, to the front for a purl stitch.
- Work the next stitch as it appears.
- Repeat steps 2 to 4 to the end of the row, then fasten off.
Binding off in rib keeps the edge stretchy and lets the knit and purl columns run cleanly into it, which matters on cuffs, necklines and other edges that need to stretch.
Which bind-off to use
| Your fabric | How to bind off |
|---|---|
| Garter stitch | Knitwise |
| Stockinette, knit side facing you | Knitwise |
| Stockinette, purl side facing you | Purlwise |
| 1×1 or 2×2 rib | In rib: knit the knits, purl the purls |
If your pattern names a particular bind-off, follow it instead.
How to keep your bind-off loose
A bind-off edge has less give than the knitting below it. If it is tight, it pulls the edge in, makes it pucker, and can stop a cuff or neckline from stretching enough to go on comfortably. Four habits keep it relaxed:
- Use a larger needle. Bind off with a right needle one or two sizes larger than the one you knitted with: for example, US 9 or US 10 (5.5 or 6 mm) if you knitted with US 8 (5 mm). Only the right needle needs to change.
- Do not pull after each stitch. Let each new stitch keep its natural size before you lift the previous one over it.
- Form the stitches on the shaft. Work each stitch on the full-width part of the needle, not on its narrow tip.
- Check as you go. After a short section, gently stretch the bound-off edge. It should stretch about as far as the fabric just below it.
How to weave in the ends
Every piece has at least two ends: the cast-on tail and the bind-off tail. Weaving them in hides them and keeps them from working loose.
- Thread the tail onto the tapestry needle.
- Turn the piece so the wrong side faces you.
- Run the needle under the bumps of several stitches, following the edge or a row of stitches for about 2 inches (5 cm).
- Turn and run the needle back the other way for a short distance, to lock the end in place.
- Gently stretch the fabric so the woven-in end lies flat.
- Trim the tail close to the fabric, taking care not to cut the knitting.
On garter stitch, which looks the same on both sides, choose whichever side will show less.
Common bind-off mistakes and how to fix them
The edge is too tight
Signs: the bound-off edge is narrower than the fabric below it, it puckers, or it barely stretches.
How to fix it: if you have not woven in the end yet, undo the bind-off. Pull the tail back out of the last loop, put that loop on a needle, and gently pull the yarn, slipping each stitch back onto the needle as it is freed. Then bind off again with a needle one or two sizes larger.
Binding off the wrong number of stitches
Patterns often ask you to bind off a set number of stitches at the start of a row, then continue, for example: "bind off 6 stitches, knit to the end." Count the stitches as you lift them over, not as you knit them. After the sixth lift, one stitch remains on the right needle. That stitch is not bound off: it is the first stitch of the rest of the row, so knit only the stitches still on the left needle after it.
The "ear" at the last stitch
The last bound-off stitch often sticks out at the corner as a small, loose point, sometimes called an "ear". It forms because the final loop is enlarged to fasten off, and no stitch is lifted over it to hold it down. Two simple ways to neaten it:
- Knit the last two stitches together. When two stitches remain on the left needle, insert the right needle into both of them at once, from left to right as if to knit, and knit them as a single stitch. Lift the previous stitch over it as usual, then fasten off. With one loop fewer at the corner, the edge lies flatter.
- Tidy it with the tail. After fastening off, thread the tail onto the tapestry needle, take it down through the side edge just below the corner, and tug gently until the point settles into line with the edge. Then weave in the end as usual.
What to learn next
Now that you can finish a piece, you are ready for a real first project: see easy knitting projects for beginners for ideas in a sensible order. To follow written instructions with confidence, read our guide to reading a knitting pattern. For complete step-by-step courses, browse the library.
Frequently asked questions
Is binding off the same as casting off?
Yes. 'Bind off' is the usual term in American patterns and 'cast off' in British ones; both mean finishing the live stitches so they cannot unravel. Patterns often abbreviate it as BO.
Why is my bind-off edge too tight?
A bind-off edge has less give than the knitting below it, and pulling the yarn firmly after each stitch makes it tighter still. Bind off with a right needle one or two sizes larger than the one you knitted with, and keep every stitch relaxed.
Should I bind off knitwise or purlwise?
Bind off in pattern, working each stitch as it appears. On garter stitch or the knit side of stockinette, bind off knitwise; on the purl side, purlwise; on ribbing, knit the knit stitches and purl the purl stitches as you go.
How do you finish the last stitch when binding off?
When one stitch remains on the right needle, cut the yarn, leaving a tail of about 6 inches (15 cm). Pull the loop a little larger, pass the tail through it, and pull the tail firmly to close the loop.
Can you undo a bind-off?
Yes, as long as you have not woven in the end. Pull the tail back out of the last loop, put that loop on a needle and gently pull the yarn: the bind-off comes undone one stitch at a time, and you slip each freed stitch back onto the needle.
Keep learning
Beginner basics
How to Knit: The Knit Stitch Step by Step
Learn the knit stitch step by step, English style: insert, wrap, pull through and slip off. Then turn your work, read your stitches and fix common mistakes.
Beginner basics
How to Purl: The Purl Stitch for Beginners
Learn how to purl step by step, English style: yarn in front, insert, wrap, push through and slip off. Then combine knit and purl for stockinette and ribbing.
Patterns & projects
Easy First Knitting Projects That Build Real Skills
Easy first knitting projects in the right order, from dishcloth and scarf to hat, blanket squares and mitts, with what each one teaches and what you need.