In short
To purl, bring the working yarn to the front of your work. Insert the right needle into the front of the first stitch on the left needle from right to left, wrap the yarn counter-clockwise around it, push the new loop backward through the stitch, then slip the old stitch off. A purl stitch is simply a knit stitch seen from the other side.
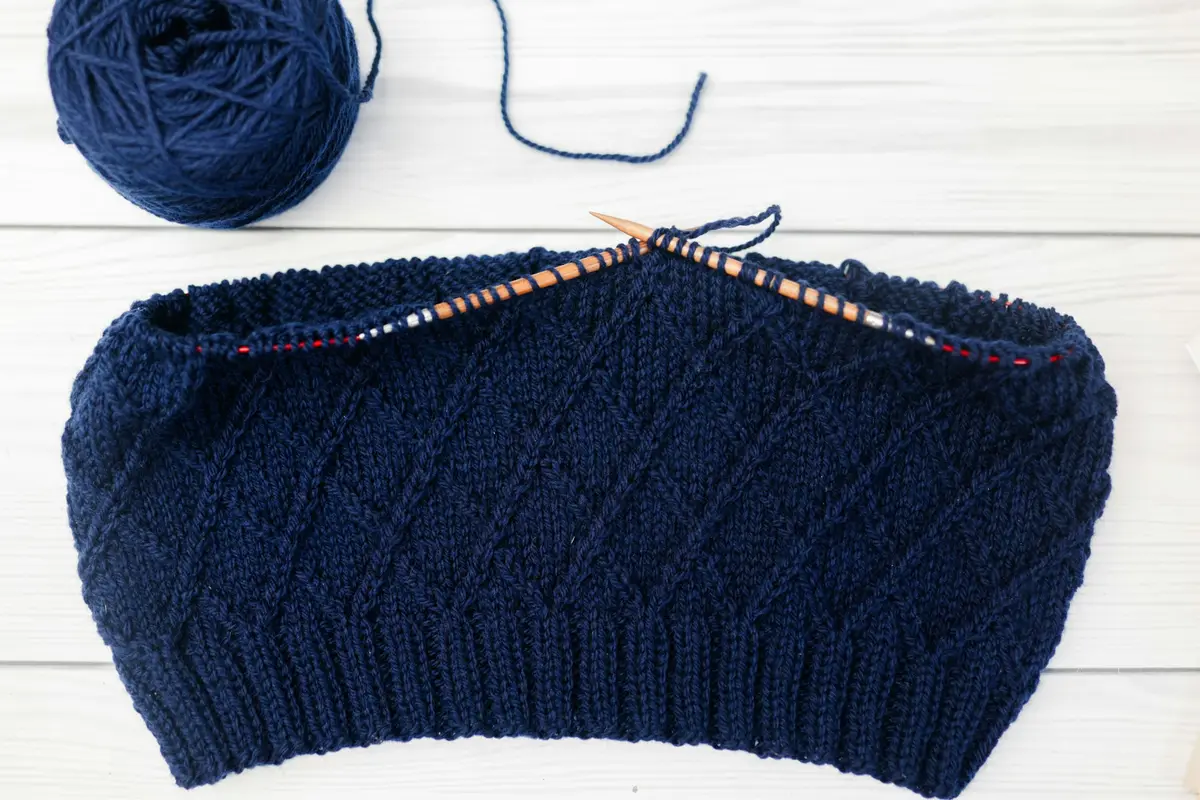
The purl stitch is the second of the two basic knitting stitches, and the mirror image of the knit stitch. Where a knit stitch pulls a new loop toward you, a purl stitch pushes it away. Purling every row makes garter stitch, just as knitting every row does; combined with the knit stitch, purling opens the door to stockinette stitch, ribbing and most patterns. This tutorial teaches the English style, with the working yarn held in your right hand.
Before you start: bring the yarn to the front
For a knit stitch, the working yarn (the strand attached to the ball) sits at the back of the work. For a purl stitch, it must sit at the front: the side facing you.
- Hold the needle with the stitches in your left hand and the empty needle in your right hand.
- Bring the working yarn toward you, passing it under the needle tips, so it hangs in front of the work.
- Drape the yarn over your right index finger, as you do for knitting.
To practice, cast on 20 stitches and knit a few rows of garter stitch first. They give you a firm base to hold, and they put a clear edge between your knit rows and your first purl row.
How to purl a stitch, step by step
- Insert. With the yarn in front, push the tip of the right needle into the front of the first stitch on the left needle, from right to left. The two needles cross in an X, with the right needle in front. Where a knit stitch goes into the loop from front to back, a purl stitch goes in from back to front.
- Wrap. With your right index finger, take the working yarn over the top of the right needle, from front to back, then down between the two needles. This is a counter-clockwise wrap, just as for the knit stitch.
- Push through. Slide the tip of the right needle down and backward through the stitch, away from you, carrying the wrapped yarn with it. You now have a new loop on the right needle, behind the left needle.
- Slip off. Move the right needle a little to the right, so the old stitch slides off the tip of the left needle. The new stitch stays on the right needle.
That is one purl stitch. Keep the yarn in front and repeat the four steps into the next stitch, until you reach the end of the row. Then swap the needles between your hands to turn the work, exactly as you do after a knit row.
The tricky moment: pushing through
The wrap tends to slip off the right needle as you push it backward. Keep the yarn lightly taut with your right index finger, and tip the point of the right needle slightly downward as it moves away from you. Go slowly at first; speed comes on its own.
How to recognize purl stitches
Seen from the side facing you, a purl stitch is a small horizontal bump, like a tiny bar lying across the column of stitches. Turn the fabric over and the same stitch shows a V: a purl bump is simply the back of a knit stitch.
On the needle, look just below each stitch. A stitch with a bump around its base is a purl stitch from the side facing you; a stitch with a smooth V below it is a knit stitch. This is how you will know what to do next in the patterns below.
Stockinette stitch: knit one row, purl one row
Stockinette stitch (called "stocking stitch" in the UK, and often written "St st" in patterns) is the smooth fabric used for most sweaters. It alternates two rows:
- Row 1, right side: knit every stitch.
- Row 2, wrong side: purl every stitch.
- Repeat these two rows.
The right side (RS) is the side that will show on the finished piece; it is covered in columns of smooth Vs. The wrong side (WS) is covered in bumps. Because you always knit on one side and purl on the other, all the Vs end up on the same face. To know which row comes next, look at the work as you pick it up: if the Vs face you, knit; if the bumps face you, purl.
Why stockinette curls
Stockinette fabric rolls at its edges: the sides curl toward the back, onto the purl side, and the top and bottom curl toward the front, onto the knit side. This is not a sign that you did anything wrong. Because all the knit stitches face the same way, the two sides of the fabric pull differently, and the fabric rolls.
Blocking (washing or steaming the finished piece, then letting it dry flat) softens the curl but rarely removes it completely. Patterns prevent it with a border that lies flat, such as a few rows and stitches of garter stitch or ribbing around the edges.
How to switch between knit and purl in the same row
Many patterns mix knit and purl stitches in the same row. The rule is simple: the yarn is at the back for a knit stitch and at the front for a purl stitch, and it always travels between the tips of the two needles when you switch.
From a knit stitch to a purl stitch:
- Finish the knit stitch.
- Bring the yarn forward between the needle tips, toward you.
- Purl the next stitch.
From a purl stitch to a knit stitch:
- Finish the purl stitch.
- Take the yarn back between the needle tips, away from you.
- Knit the next stitch.
How to knit 1×1 and 2×2 rib
Ribbing alternates columns of knit and purl stitches. The knit columns stand forward and the purl columns sink back, which makes the fabric stretchy and keeps it from curling. That is why ribbing is used for cuffs, hems, hat brims and necklines. Patterns abbreviate knit as k and purl as p.
1×1 rib: knit 1, purl 1
On an even number of stitches, every row is the same:
- Knit 1 stitch.
- Bring the yarn forward between the needle tips.
- Purl 1 stitch.
- Take the yarn back between the needle tips.
- Repeat steps 1 to 4 to the end of the row.
Each row ends with a purl stitch, which shows a V once you turn the work, so the next row starts with a knit stitch and the columns line up.
On an odd number of stitches, the rows alternate. Row 1: knit 1, then repeat purl 1, knit 1 to the end. Row 2: purl 1, then repeat knit 1, purl 1 to the end.
2×2 rib: knit 2, purl 2
On a number of stitches that divides by 4 (such as 20, 24 or 28), every row is the same: knit 2, purl 2, repeated to the end of the row. Remember to move the yarn between the needle tips each time you change from knit to purl or back.
Knit the knits and purl the purls
Whatever rib you are working, you can always check yourself by reading the stitches: knit every stitch that shows a V as it faces you, and purl every stitch that shows a bump. This keeps the columns straight even if you lose count of where you are in the row.
Other purl stitch mistakes and how to fix them
Wrapping the yarn the wrong way
If the yarn goes around the needle clockwise instead of counter-clockwise, the stitch still forms, but it sits backward on the needle, with its left leg in front. Worked in the usual way on the next row, it becomes twisted. To fix it, work that stitch through the back loop: insert the needle into the leg behind the needle instead of the one in front, and the stitch comes out untwisted.
Purling with the yarn at the back
If you forget to bring the yarn forward before a purl stitch, the yarn crosses over the right needle as you wrap and adds an extra loop. Bring the yarn to the front between the needle tips before every purl stitch that follows a knit stitch.
How to undo a purl stitch
You can undo purl stitches one at a time, just like knit stitches. With the yarn in front, insert the left needle into the stitch just below the last stitch on the right needle, slide the right needle out of the stitch above, and gently pull the working yarn. The old stitch is back on the left needle, ready to be purled again.
What to learn next
With the knit and purl stitches, you have every stitch you need for a first project. To finish your swatch, learn how to bind off, including how to bind off in rib. When you want to follow a pattern, our guide to reading a knitting pattern explains abbreviations such as k, p, RS and WS. For a complete, structured course, explore the library.
Frequently asked questions
What is the difference between knit and purl stitches?
They are two sides of the same stitch. A knit stitch is made with the yarn at the back and shows a V on the side facing you; a purl stitch is made with the yarn in front and shows a horizontal bump. Seen from the back, a purl stitch looks exactly like a knit stitch.
Why does my stockinette stitch curl?
Curling is a natural property of stockinette stitch, not a mistake. The side edges roll toward the purl side, and the top and bottom roll toward the knit side. A border of garter stitch or ribbing helps the fabric lie flat.
Why do I get extra stitches when I knit ribbing?
When you switch between knit and purl, the yarn must pass between the tips of the needles. If it goes over the right needle instead, it wraps the needle and adds a loop, which becomes an extra stitch with a small hole beneath it.
What does 'knit the knits and purl the purls' mean?
It means working each stitch the way it appears as it faces you: knit the stitches that show a V and purl the ones that show a bump. It keeps ribbing and other knit-and-purl patterns lined up from row to row.
Is purling harder than knitting?
Purling uses the same four moves as knitting, in mirror image. It can feel clumsier at first because the needle moves away from you, but with practice it becomes just as comfortable.
Keep learning
Beginner basics
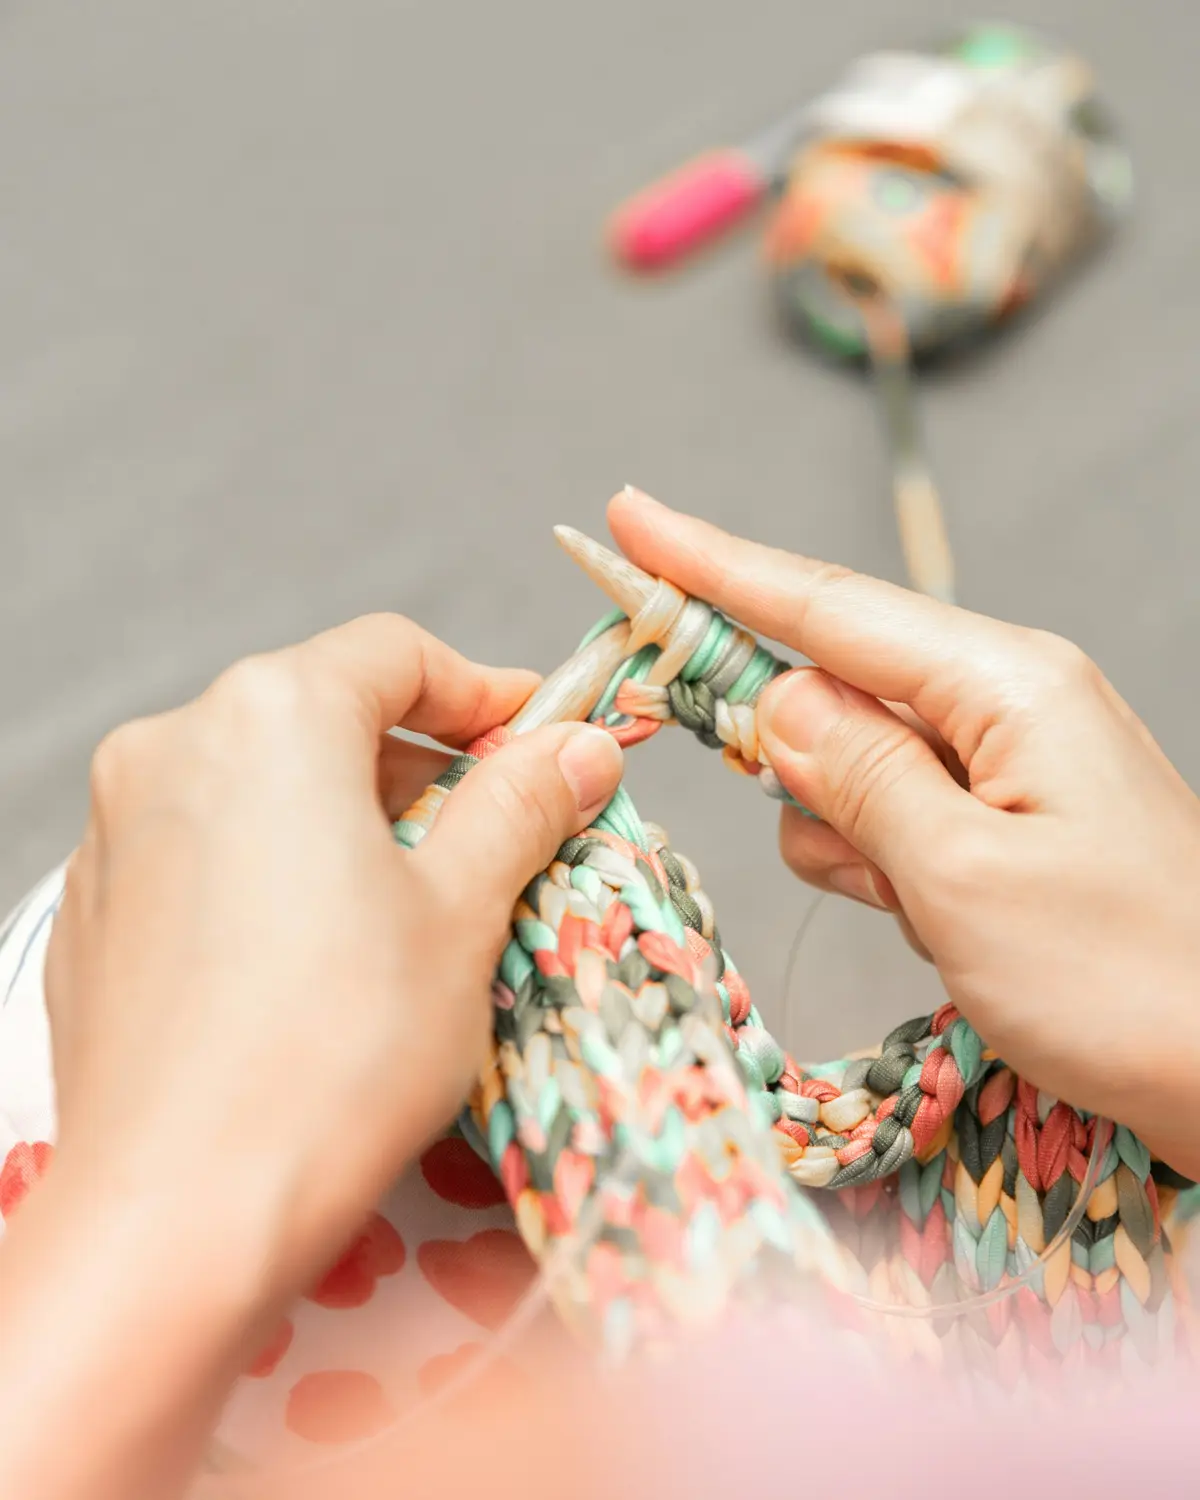
How to Knit: The Knit Stitch Step by Step
Learn the knit stitch step by step, English style: insert, wrap, pull through and slip off. Then turn your work, read your stitches and fix common mistakes.
Techniques
How to Bind Off (Cast Off) Your Knitting
Learn how to bind off (cast off) knitting step by step: the standard method, binding off in rib, finishing the last stitch and keeping the edge loose.
Techniques
How to Read a Knitting Pattern: Abbreviations Explained
Learn how to read a knitting pattern: how it is organized, size brackets, common abbreviations like k2tog and ssk, repeats, charts and US vs UK terms.