In short
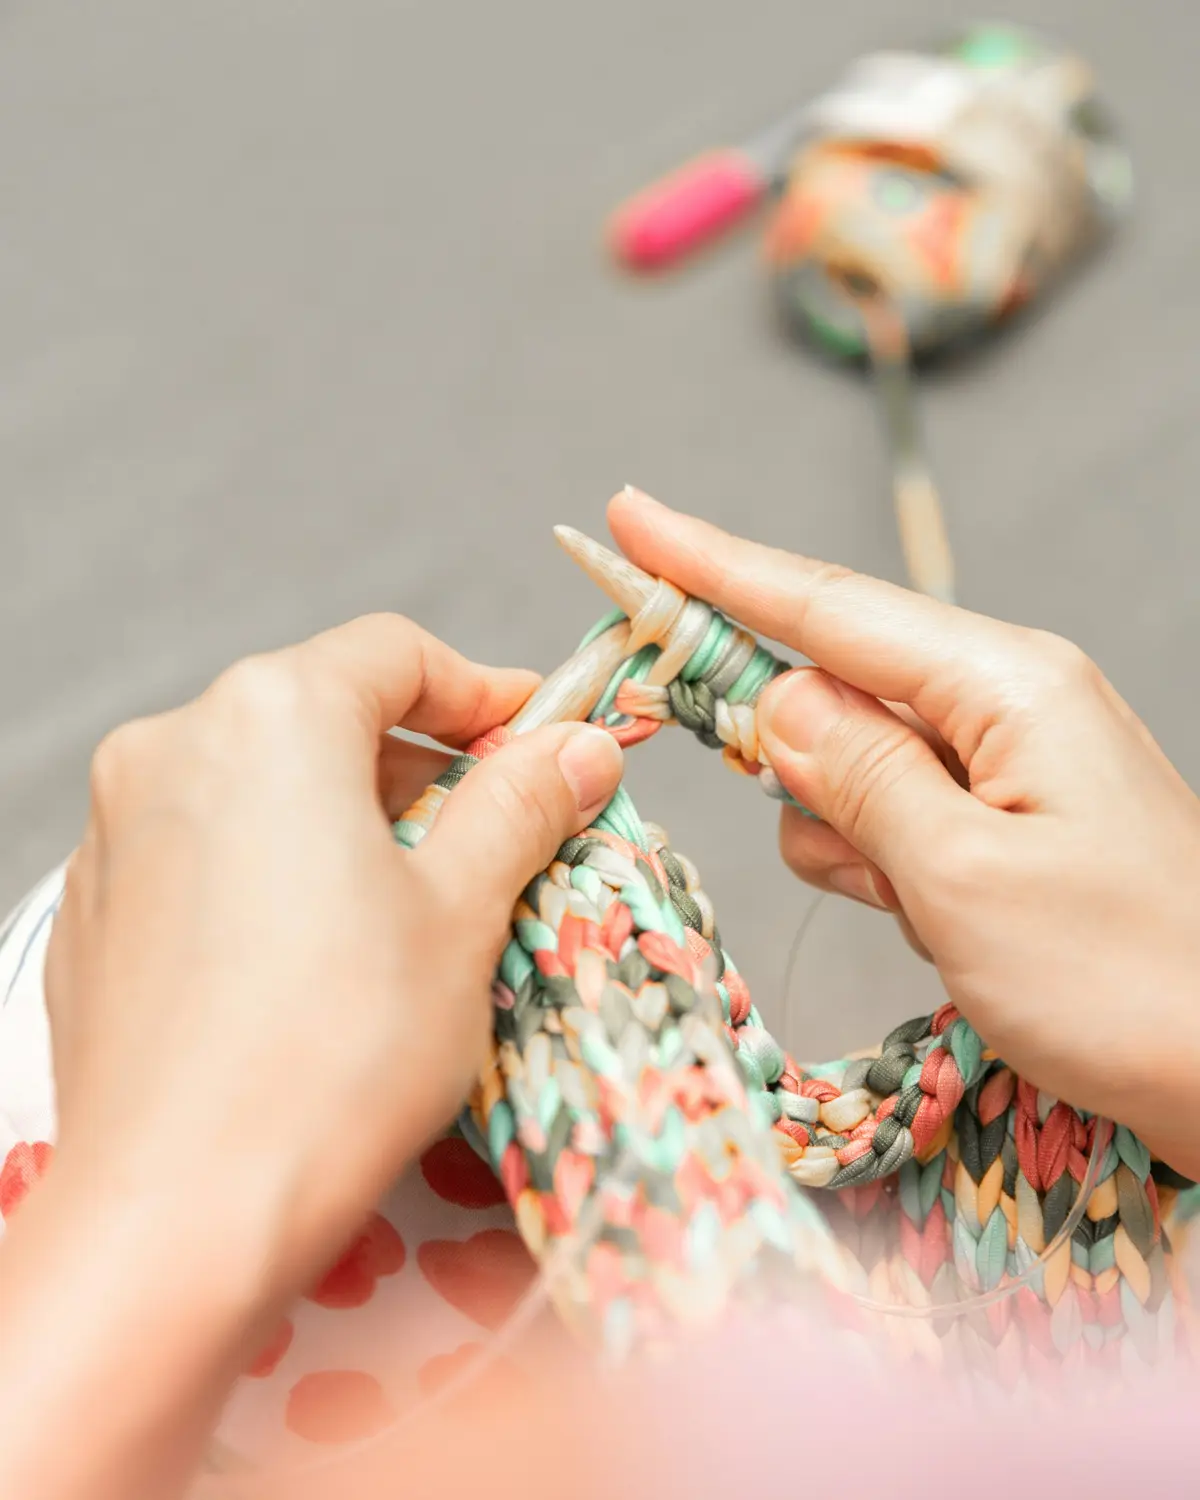
To knit a stitch, hold the needle with the stitches in your left hand and keep the working yarn at the back. Insert the right needle into the front of the first stitch from left to right, wrap the yarn counter-clockwise around it, pull the new loop through toward you, then slip the old stitch off the left needle. Repeat across the row.
The knit stitch is the most important stitch in knitting. With it alone, you can already make a scarf, a dishcloth or a blanket square in garter stitch. This tutorial teaches the English style, in which your right hand holds the working yarn and wraps it around the needle. Continental knitters hold the yarn in the left hand instead, but the stitch they make is exactly the same.
Before you start
- Cast on about 20 stitches in a smooth, medium-weight yarn. If you have not cast on yet, follow the long-tail cast-on first.
- Hold the needle with the stitches in your left hand and the empty needle in your right hand.
- Check the working yarn, the strand attached to the ball. It should hang from the first stitch near the tip of the left needle, at the back of the work: the side facing away from you.
- Drape the working yarn over your right index finger, so you can guide it. For ways to hold the yarn, see how to knit for beginners.
How to knit a stitch, step by step
- Insert. Push the tip of the right needle into the front of the first stitch on the left needle, from left to right. The right needle passes through the loop from front to back, and the two needles cross in an X, with the right needle behind.
- Wrap. With your right index finger, bring the working yarn up from the back and over the top of the right needle toward you, so it falls between the two needles. This is a counter-clockwise wrap.
- Pull through. Slide the tip of the right needle down and toward you, back through the stitch, bringing the wrapped yarn with it. You now have a new loop on the right needle.
- Slip off. Move the right needle a little to the right, so the old stitch slides off the tip of the left needle. The new stitch stays on the right needle.
That is one knit stitch. Repeat the four steps into the next stitch, and the next, until you reach the end of the row. A traditional rhyme helps keep the order in mind: in through the front door, around the back, out through the window, and off jumps Jack.
A closer look at each step
Inserting the needle
Aim for the middle of the loop, not the gap between two stitches. Push the right needle in far enough that the loop sits around its full-width part rather than its narrow tip; a stitch formed on the tip comes out small and tight. Work only the first stitch on the left needle; the others wait their turn.
Wrapping the yarn
The yarn starts at the back for every knit stitch. Wrap it so it hugs the needle without squeezing it. If you feel you have to force the yarn around, loosen your hold on it.
Pulling through
This is the moment beginners find trickiest, because the wrap tends to slip off the right needle as you pull it through. Keep a light hold on the yarn with your right index finger, and tip the point of the right needle slightly downward as it comes toward you.
Slipping the old stitch off
Only the one old stitch should leave the left needle. If its neighbors start to slide off too, steady them with your left index finger while you finish the stitch.
How to finish a row and turn your work
- Keep knitting until every stitch has moved onto the right needle and the left needle is empty.
- Count your stitches. You should have the same number you cast on.
- Swap the needles: move the full needle into your left hand and the empty needle into your right. This turns the work, so the other side now faces you.
- Check that the working yarn hangs straight down from the first stitch, at the back.
- Knit the first stitch of the new row, and continue as before.
How to recognize a knit stitch
Seen from the side facing you while you made it, each knit stitch looks like a small V: two little legs leaning toward each other. The Vs stack up in neat columns. Turn the fabric over and the same stitch looks like a small horizontal bump. That bump is a purl stitch: a knit stitch seen from the back. Learning to see these two shapes is called "reading your knitting", and it is how knitters spot mistakes.
On the needle, each stitch is a loop with one leg in front of the needle and one behind. In a correctly made stitch, the right leg sits in front. Remember this; it will help you spot a twisted stitch later.
Garter stitch: knitting every row
When you knit every stitch of every row, you get garter stitch. Because you turn the work after each row, both sides of the fabric end up looking the same, with raised horizontal ridges.
- Each ridge represents two rows. To count your rows, count the ridges on one side and multiply by two.
- It lies flat. Garter stitch does not curl, which makes it ideal for scarves, dishcloths and borders.
- It is reversible. Both sides look identical, so there is no wrong side to hide.
- It is dense and squishy. It grows in length more slowly than smoother fabrics, so a garter-stitch piece needs more rows to reach a given length.
Tension tips for even knit stitches
Tension is how firmly the yarn is held as it feeds into your stitches. Even tension gives even stitches.
- Let the needle set the size. A stitch takes the size of the part of the needle it is formed on, so form each new stitch on the full-width shaft, not on the tip.
- Let the yarn glide. Hold the working yarn with gentle, steady resistance. If it does not move freely through your fingers, loosen your grip.
- Do not tug after each stitch. A firm pull after every stitch makes that stitch tighter than its neighbors.
- Keep the stitches within reach. Nudge the stitches on the left needle toward its tip with your left fingers, so you never have to stretch for the next one.
- Relax. Tense shoulders make tense stitches. Put the work down and rest your hands whenever they feel tired.
Common knit stitch mistakes and how to fix them
Wrapping the yarn the wrong way
What happens: the yarn goes around the needle the opposite way, clockwise instead of counter-clockwise. The stitch still forms, but it sits backward on the needle: on the next row, its left leg is in front instead of its right leg. Knitted in the usual way, it becomes a twisted stitch, whose legs cross at the bottom instead of forming an open V.
How to fix it: before you work each stitch on the next row, glance at it. If its left leg sits in front of the needle, knit it through the back loop: insert the right needle into the leg behind the needle instead of the one in front. The stitch comes out untwisted. Then check your wrap: the yarn should always travel over the top of the right needle toward you.
Accidentally adding extra stitches
What happens: your stitch count grows. The usual causes are:
- At the start of a row, the working yarn was pulled over the needle, so the first stitch showed two loops.
- In the middle of a row, the yarn drifted to the front between the needles, then crossed over the right needle as you wrapped the next stitch. This adds a loop and leaves a small hole.
How to fix it: keep the working yarn at the back for every knit stitch, and count your stitches at the end of each row. If you find an extra stitch on the row you are working, undo your stitches back to it (see below). On a practice piece, you can instead insert the right needle into two stitches at once and knit them as one, which brings you back to the right number.
Splitting the yarn
What happens: most yarns are made of several thinner strands, called plies, twisted together. If the needle tip goes between the plies instead of through the whole loop, the stitch looks frayed and part of the yarn is left behind.
How to fix it: undo that stitch and knit it again. To prevent it, watch the needle tip as you insert it, aim for the center of the loop, and choose a smooth, tightly twisted yarn. Needles with slightly rounder tips also split the yarn less.
How to undo a knit stitch
Undoing stitches one at a time is called tinking: "knit" spelled backward.
- Find the stitch just below the last stitch on the right needle: the old stitch it was pulled through.
- Insert the tip of the left needle into that stitch below, from front to back.
- Slide the right needle out of the stitch above it.
- Gently pull the working yarn to free the loop.
The old stitch is back on the left needle, ready to be knitted again. Repeat for each stitch you need to undo.
What to learn next
Once the knit stitch feels comfortable, learn its mirror image, the purl stitch. Together, the two open the door to stockinette stitch and ribbing. When your practice piece is long enough, bind off to finish it with a neat edge.
Frequently asked questions
What is the difference between the knit stitch and garter stitch?
The knit stitch is the single movement you repeat. Garter stitch is the fabric you get when you knit every stitch of every row: it shows raised ridges on both sides and lies flat.
Which way do you wrap the yarn for a knit stitch?
Counter-clockwise: bring the working yarn up from the back and over the top of the right needle toward you, so it falls between the two needles. Wrapping it the other way still makes a stitch, but the stitch sits backward on the needle and becomes twisted on the next row.
Why do I keep getting extra stitches when I knit?
The most frequent cause is pulling the working yarn up and over the needle at the start of a row, which makes the first stitch look like two. Keep the yarn hanging down at the back, and count your stitches at the end of every row.
Why is my knitting so tight?
Usually because each stitch is formed on the narrow tip of the needle, or the yarn is held too firmly. Slide every new stitch onto the full-width part of the right needle, and let the yarn glide through your fingers.
Keep learning
Beginner basics
How to Purl: The Purl Stitch for Beginners
Learn how to purl step by step, English style: yarn in front, insert, wrap, push through and slip off. Then combine knit and purl for stockinette and ribbing.
Beginner basics
How to Cast On: The Long-Tail Method, Step by Step
Learn the long-tail cast-on step by step: how long to make the tail, the slip knot, the slingshot hold, and how to fix a cast-on edge that is too tight.
Beginner basics
How to Knit for Beginners: The Complete Step-by-Step Guide
Learn how to knit from scratch: the tools you need, how to hold needles and yarn, how to cast on, knit, purl and bind off, and how to fix beginner mistakes.