Easy First Knitting Projects That Build Real Skills
By the Knitting Mastery team7 min read
In short
Start with a garter-stitch dishcloth, then a garter scarf, then a cowl and a hat knitted in the round on circular needles, followed by simple blanket squares and fingerless mitts. Each project adds one or two new skills, such as joining a new ball, ribbing or decreasing. Socks or a simple top-down sweater make excellent next milestones once these feel comfortable.
The best first projects are small, flat and forgiving, and each one teaches something the previous one did not. Follow the order below and you will learn the core skills of knitting one at a time, finishing something useful at every step.
How to choose your first pattern
Look for a pattern that:
- uses only knit and purl stitches, in garter stitch (knit every row) or stockinette stitch (knit one row, purl one row);
- calls for medium-weight yarn, often labeled worsted or aran;
- needs a single needle size throughout;
- is a simple shape, such as a square or a rectangle, with little or no shaping;
- is marked "beginner" or "easy" and has clear written instructions.
Leave colorwork, cables and lace for later. They are deeply satisfying, but easier to enjoy once the basics feel automatic. If abbreviations are new to you, keep our guide on how to read a knitting pattern open alongside.
1. A dishcloth or washcloth
A small square in garter stitch, about 8 in (20 cm) on each side.
What it teaches:
- casting on and binding off;
- a steady, relaxed knit stitch;
- counting rows: in garter stitch, each ridge equals two rows;
- keeping your edges straight and your stitch count constant;
- weaving in ends, which means hiding the yarn tails in the back of the fabric with a needle.
What you need:
- one ball of medium-weight yarn. Cotton is traditional because it is absorbent, but wool or acrylic is more forgiving for a very first try;
- needles in the size recommended on the yarn label;
- a tapestry needle, a blunt needle with a large eye.
Once you have made a plain square, try a diagonal one, started from a corner. It grows by one stitch every row, then shrinks back, which introduces simple increases and decreases.
2. A garter-stitch scarf
A long rectangle in garter stitch, usually about 6 to 8 in (15 to 20 cm) wide.
What it teaches:
- consistent tension over many rows. You will probably see your stitches become more even as you go; that is progress, not a flaw;
- joining a new ball of yarn;
- measuring your work as it grows.
What you need:
- medium or bulky yarn in wool or a soft wool blend; the pattern tells you how much;
- needles in the size recommended on the label;
- a tape measure and a tapestry needle.
How to join a new ball at the edge
- When the remaining yarn is shorter than about four times the width of the scarf, finish the row you are on.
- Cut the old yarn, leaving a tail of about 6 in (15 cm).
- Hold the new yarn with a tail of about 6 in (15 cm) hanging at the edge.
- Knit the first stitches of the next row with the new yarn.
- Gently pull both tails to snug up the first stitch.
- When the scarf is finished, weave each tail into the edge with the tapestry needle.
Avoid tying knots in the middle of the fabric; they can work their way through to the front.
3. A cowl, then a hat, on circular needles
Start with a cowl, a simple tube with no shaping. Then knit a hat, which adds shaping at the crown.
What they teach:
- knitting in the round: joining the stitches into a circle and working in rounds, without turning;
- stockinette in the round, which means knitting every round, with no purl rows at all;
- ribbing, such as k2, p2 (knit two, purl two), which stretches and hugs the head;
- decreasing for the crown with k2tog (knit two together);
- switching to double-pointed needles or the magic loop method as the crown narrows.
What you need:
- medium-weight wool or wool blend, which is warm and stretchy;
- a circular needle in your yarn's size: 16 in (40 cm) for the hat, and for the cowl, one slightly shorter than the cowl's circumference. Some patterns also ask for a needle one size smaller for the ribbing;
- for the crown, a set of double-pointed needles in the same size, or a circular of 32 in (80 cm) or longer for magic loop;
- a stitch marker for the beginning of the round, and a tapestry needle.
How to join in the round without a twist
- Cast on the number of stitches the pattern asks for.
- Spread the stitches along the needle and cable.
- Check that the bottom edge of the cast-on faces the center of the circle all the way around, without spiraling around the cable.
- Place a stitch marker on the right needle tip.
- Knit the first stitch on the left needle, pulling the yarn snug, and continue around.
To shape the crown, a hat pattern decreases at several evenly spaced points around each decrease round, for example "*k6, k2tog; rep from * to end", then "*k5, k2tog; rep from *" on the next decrease round, with one fewer stitch between decreases each time. When only a few stitches remain, cut the yarn, thread it through the remaining stitches with the tapestry needle and pull it closed.
4. Simple blanket squares
Small squares, all the same size, sewn together into a blanket, or into a cushion cover if you prefer to stop sooner.
What they teach:
- new knit-and-purl stitch patterns in small doses, such as seed stitch, ribbing and basketweave;
- keeping the same gauge, the number of stitches and rows per 4 in (10 cm), so every square comes out the same size;
- blocking, which means wetting or steaming each square and drying it flat to its final size;
- seaming, for example with mattress stitch, a nearly invisible seam.
What you need:
- medium-weight yarn, all of the same weight and fiber so the squares match, and enough from one dye lot for each color;
- one pair of needles;
- a tape measure and a tapestry needle.
Each square is a small project you can finish in a sitting or two, which keeps a large piece from ever feeling overwhelming.
5. Fingerless mitts
Short tubes for the hands, with an opening for the thumb.
What they teach:
- knitting small tubes on double-pointed needles or with the magic loop method;
- making a thumb opening, either by knitting back and forth for a few rows to leave a slit or, in more shaped patterns, by increasing for a thumb gusset (a wedge of extra stitches) with m1L and m1R;
- placing stitches on scrap yarn to hold them, then picking them up again;
- making a matching pair, which teaches you to note exactly what you did the first time.
What you need:
- light or medium-weight yarn, such as DK or worsted, in wool or a wool blend;
- double-pointed needles or a long circular in the size the pattern gives;
- stitch markers, scrap yarn and a tapestry needle.
You can try mitts on as you go, which makes them a gentle introduction to fit.
6. Next milestones: socks or a simple top-down sweater
Once mitts feel comfortable, you are ready for a bigger step.
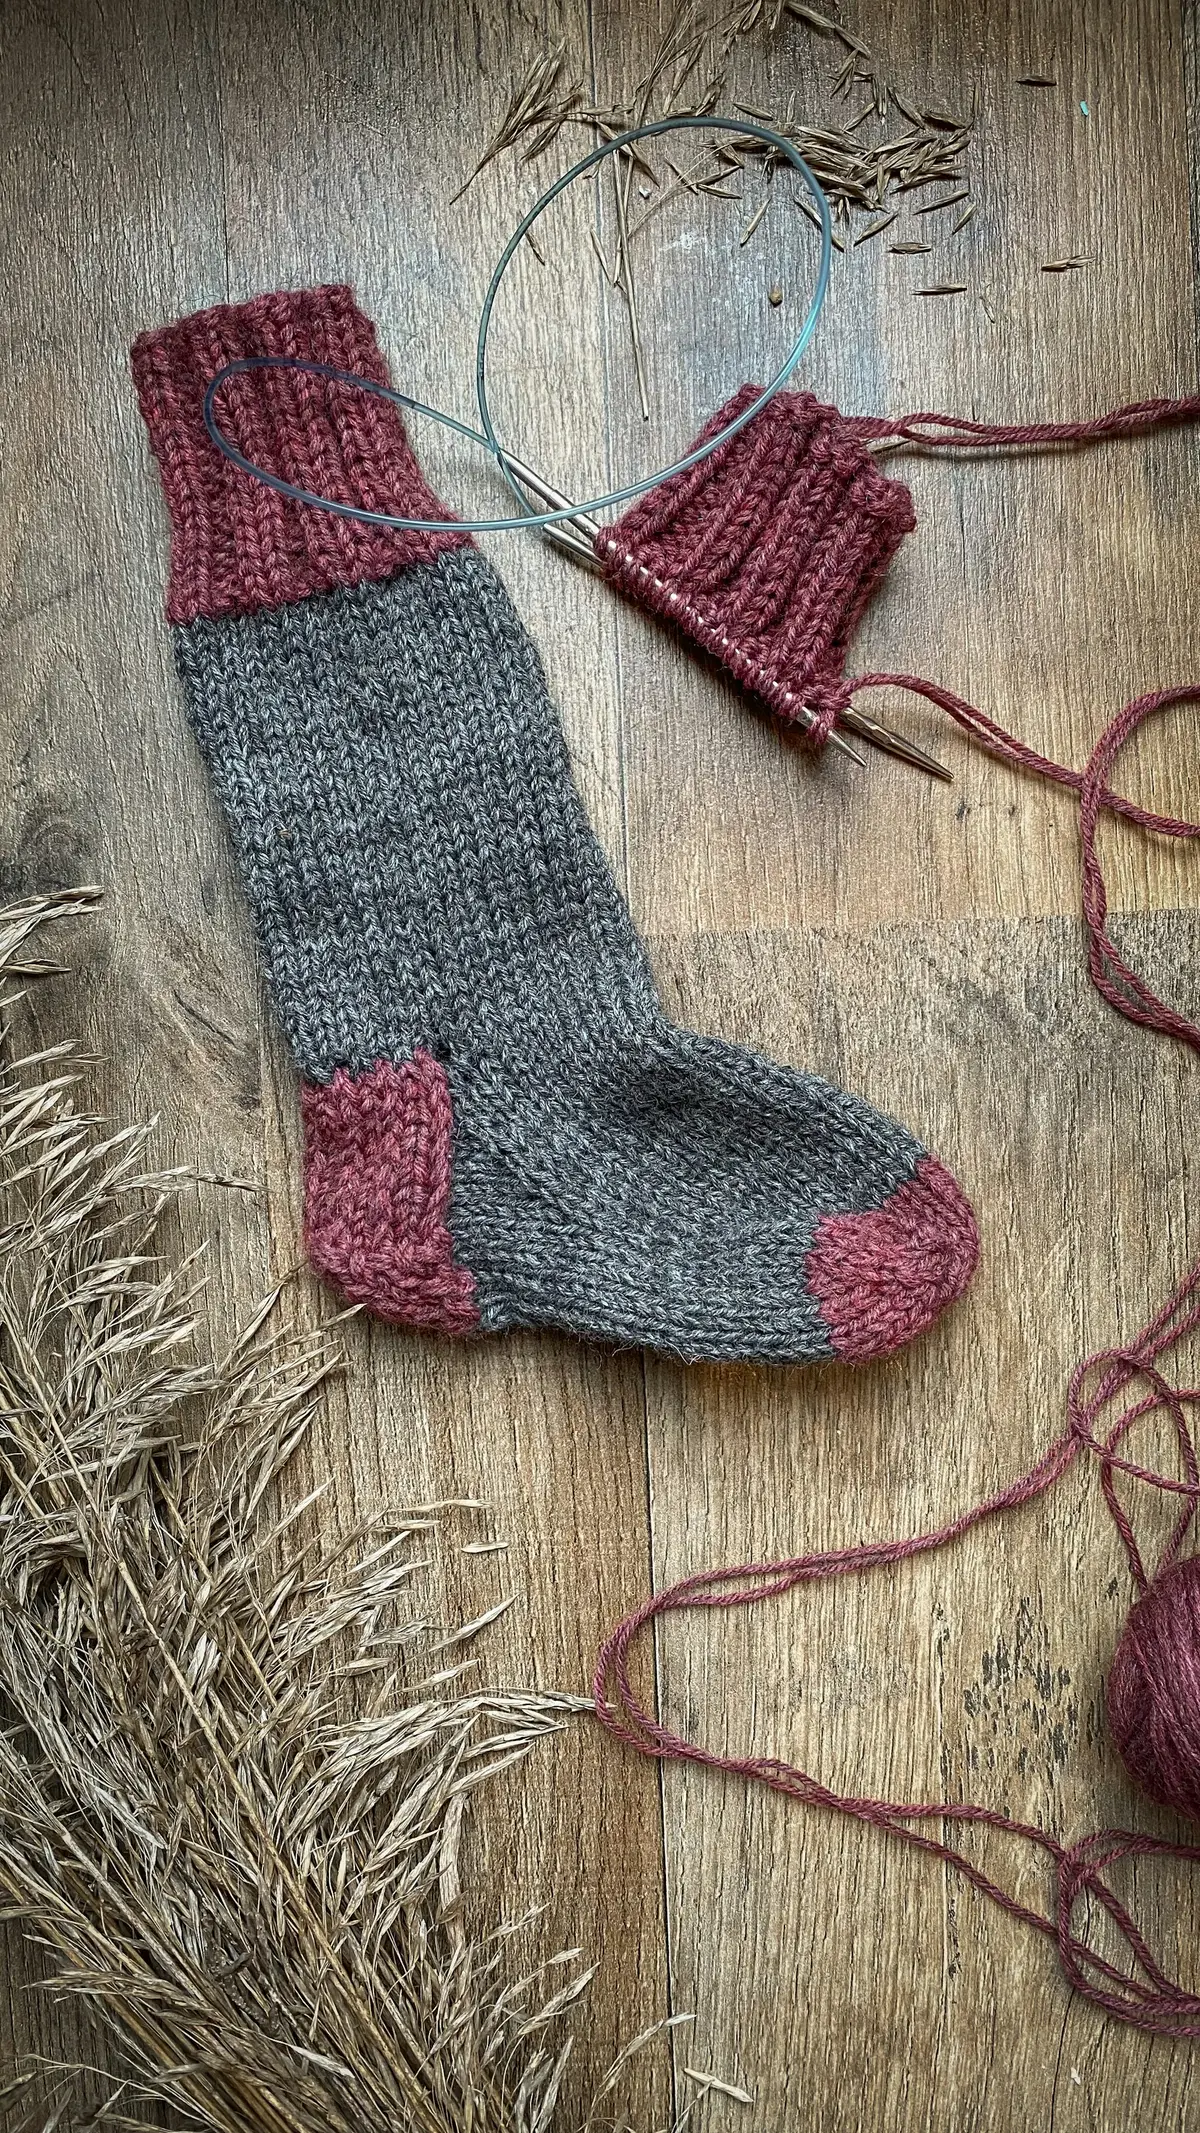
Socks, in the classic cuff-down construction, teach a ribbed cuff, the heel flap and turning the heel with short rows (partial rows that shape a cup), picking up stitches for the gusset, decreasing for the toe and grafting it closed with Kitchener stitch, a seamless join. Socks are usually knitted in fine yarn on small needles, often around 2.25 to 2.75 mm (US 1 to 2). A first pair in thicker DK or worsted yarn is quicker and lets you learn the construction before the fine-gauge version.
A simple top-down sweater, usually a raglan, with the sleeves joined to the body along diagonal lines from neck to underarm, is knitted in one piece from the neckline down, with almost no sewing. It teaches increasing along the raglan lines, setting sleeve stitches aside on scrap yarn, and knitting the body and sleeves in the round. Above all, it teaches choosing a size from the finished measurements and swatching carefully for gauge. Because it is worked from the top, you can try it on as you go.
How to know you are ready for the next project
You do not need perfect stitches to move on. You are ready when:
- you can tell knit stitches (Vs) from purl stitches (bumps) by looking at your fabric;
- you can count stitches and rows without losing your place;
- you can fix a dropped stitch or unknit a few stitches to correct a mistake;
- your tension is mostly even and your edges are reasonably straight;
- you finished the last project, and the next one feels interesting rather than overwhelming.
Aim for one or two new skills per project. If a pattern introduces many new techniques at once, choose a simpler one first, or practice the new technique on a small swatch.
What to learn next
Before you cast on, choose your yarn with our beginner yarn guide and get comfortable with reading a knitting pattern. For complete projects explained step by step, browse the books and courses in the library.
Frequently asked questions
What is the easiest thing to knit for a beginner?
A garter-stitch dishcloth or washcloth: a small square worked in knit stitch only. It is quick to finish and teaches casting on, knitting, counting rows and binding off.
Is a scarf a good first knitting project?
A garter-stitch scarf is a good first or second project. Because it is long, knitting a small dishcloth first gives you a quicker finish and more practice before you begin.
When should a beginner knit a hat?
Once you can knit and purl comfortably and have finished a flat project or two. A hat introduces knitting in the round, ribbing and decreasing, so it makes a natural third project.
Are socks hard to knit for beginners?
Socks are not difficult, but they combine several techniques: small needles, fine yarn, a heel and a grafted toe. They make an excellent goal once you have knitted a hat and a pair of mitts.
Keep learning
Yarn & tools
The Best Yarn for Beginners (and What to Avoid)
The best yarn for beginners is smooth, medium-weight wool or acrylic in a light color. Learn to read a yarn label, match dye lots and know what to avoid.
Techniques
How to Read a Knitting Pattern: Abbreviations Explained
Learn how to read a knitting pattern: how it is organized, size brackets, common abbreviations like k2tog and ssk, repeats, charts and US vs UK terms.
Beginner basics
How to Knit for Beginners: The Complete Step-by-Step Guide
Learn how to knit from scratch: the tools you need, how to hold needles and yarn, how to cast on, knit, purl and bind off, and how to fix beginner mistakes.