How to Fix a Dropped Stitch Without Starting Over
By the Knitting Mastery team7 min read
In short
Catch the loose loop at once with a locking stitch marker so it cannot run further. If the stitch dropped one row, lift it back onto your needle by drawing the horizontal strand above it through the loop. If it has run down several rows, rebuild it with a crochet hook, one strand at a time from the bottom up, then replace it with its right leg in front.
A dropped stitch is a stitch that has slipped off your needle with nothing holding it. Left alone, it unravels down its column, row after row. The reassuring part is that no yarn is lost: every row it ran through is still there as a horizontal strand, and you can rebuild the stitch from them without undoing your work.
These fixes work the same whether you knit English style (yarn in the right hand) or continental style (yarn in the left). They assume stockinette stitch, the smooth fabric made by knitting right-side rows and purling wrong-side rows.
How to spot a dropped stitch
Look for any of these signs:
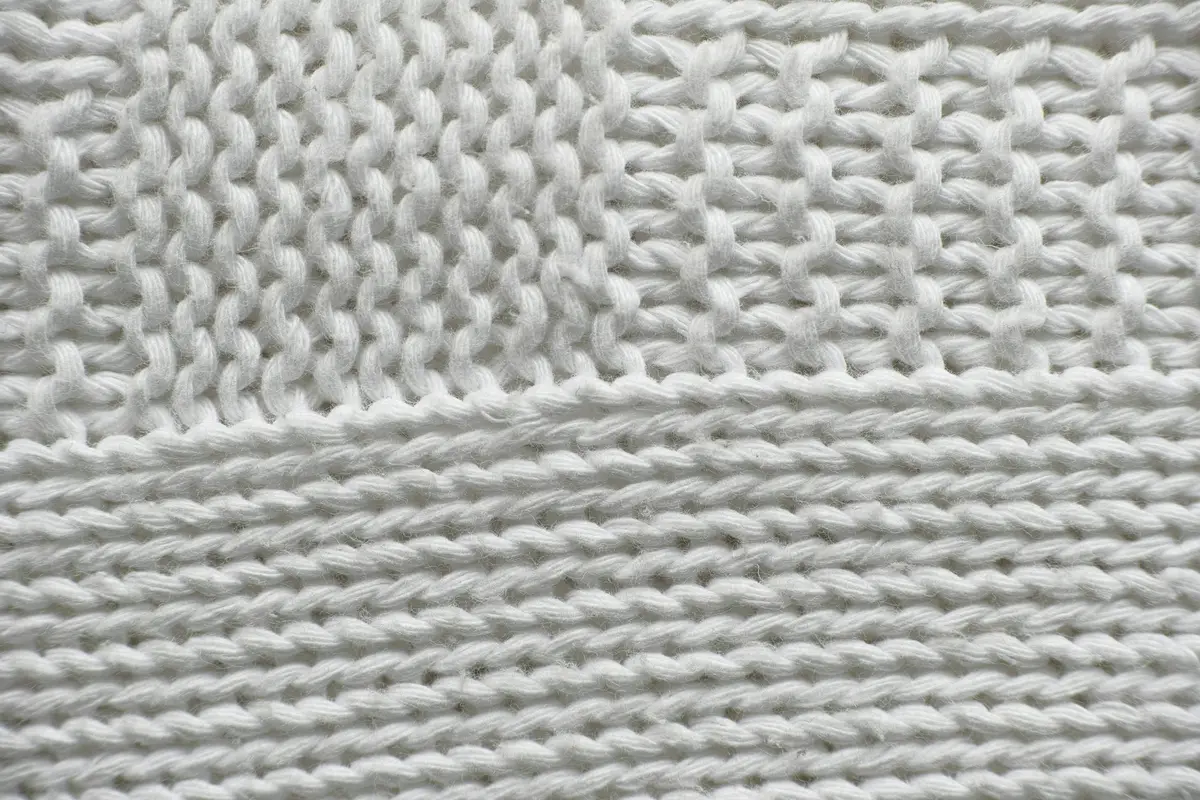
- A ladder. A vertical gap in the fabric crossed by horizontal strands, like the rungs of a ladder. Each rung is one row the stitch has run through.
- A loose loop. A single loop at the bottom of that gap, attached to nothing above it.
- A short count. You count your stitches and find one fewer than the pattern says.
- A small hole. On the purl side, a run can look more like a hole than a ladder.
Count your stitches at the end of each row while you are learning, and you will usually catch a dropped stitch only one row deep.
Secure the loose loop first
Before anything else, stop the stitch from running further.
- Stop knitting and leave all the other stitches on your needles.
- Find the loose loop at the bottom of the ladder.
- Pass a locking stitch marker or a small safety pin through the loop.
- Close the marker.
A locking stitch marker is a small clip that opens and closes like a safety pin. Once the loop is caught, you can take your time.
You will also need a crochet hook roughly the same size as your knitting needles, or slightly smaller. A hook that is too large stretches the stitch; one that is far too small tends to split the yarn.
How to pick up a dropped stitch one row below (knit side)
Use this method when there is a single horizontal strand above the loose loop. Work with the knit side, the side of smooth V-shaped stitches, facing you.
- Knit across the row until you reach the dropped stitch, so the loop sits just below the gap between your needles.
- Check that the horizontal strand lies behind the loose loop.
- Remove the marker and insert the right needle into the loop from front to back.
- Slide the tip of the right needle under the horizontal strand, so the loop and the strand are both on the right needle.
- Insert the tip of the left needle into the loop.
- Lift the loop over the strand and off the right needle, as you would when binding off. The strand is now a new stitch.
- Slip the new stitch back onto the left needle.
- Check that it is not twisted (see below), then knit it.
How to pick up a dropped stitch on the purl side
On the purl side, the side covered in small bumps, the strand lies in front of the loop, so the movement is mirrored.
- Purl across the row until you reach the dropped stitch.
- Check that the horizontal strand lies in front of the loose loop.
- Remove the marker and insert the right needle into the loop from back to front.
- Slide the tip of the right needle under the horizontal strand.
- Insert the tip of the left needle into the loop.
- Lift the loop over the strand and off the right needle.
- Slip the new stitch back onto the left needle.
- Check that it is not twisted, then purl it.
How to fix a dropped stitch several rows down with a crochet hook
When the stitch has run down several rows, a crochet hook rebuilds it quickly, one rung at a time. Knitters call this laddering up.
- Work across the row until the ladder sits between your two needles.
- Hold the work with the knit side facing you and the strands lying behind the loose loop.
- Remove the marker and insert the crochet hook into the loop from front to back.
- Catch the lowest strand of the ladder, the one just above the loop, with the hook.
- Pull the strand through the loop toward you. It becomes the new loop on the hook.
- Catch the next strand up and pull it through the loop on the hook.
- Repeat, one strand at a time and in order, until you have used the last strand, the one running between your two needle tips.
- Place the loop on the left needle with its right leg in front, then knit it.
Each strand is one row, so never skip one and never catch two at once. A skipped strand leaves a loose loop in the fabric and pulls the column short. If it happens, slide the hook out, let the stitch run back down below the mistake and climb again.
On the purl side: turn the work
You can ladder up from the purl side, but it is easier to turn your work so the knit side faces you. Ladder up exactly as above, keeping the last loop on the hook. Then turn the work back and place the loop on the left needle, right leg in front.
Make sure the stitch is not twisted
Each stitch on your needle is a loop with two legs, one in front of the needle and one behind it. In a correctly seated stitch, the right leg sits in front of the needle.
If the left leg is in front, the stitch is twisted: once knitted, its legs cross at the base and it looks tighter than its neighbors. To correct it, either:
- slip it off the left needle and put it back the other way around, right leg in front; or
- work it through the back loop, meaning through the leg behind the needle, which untwists it as you knit or purl.
If the repaired column looks a little loose or tight, gently tug the fabric widthwise and lengthwise. Blocking, which means wetting the finished piece and letting it dry flat in shape, usually evens out the rest.
When to unknit instead (tinking)
Sometimes it is wiser to undo your work. Tinking ("knit" spelled backward) means unknitting one stitch at a time and returning each stitch to the left needle. Choose it when:
- the dropped stitch is only a few stitches back on the current row;
- the ladder runs through increases, decreases, yarn overs (deliberate holes) or cables, which a hook cannot rebuild without advanced know-how;
- the strands are tangled or split, or several neighboring stitches have dropped together.
To tink a knit stitch:
- Hold your work as usual, with the working yarn (the strand attached to the ball) coming from the last stitch on the right needle.
- Insert the left needle from front to back into the stitch just below the first stitch on the right needle.
- Slide the right needle out of the stitch above it.
- Gently pull the working yarn to free it.
- Repeat until you reach the mistake.
For a purl stitch, the movement is the same, with the working yarn in front. If the mistake is many rows down, you can instead pull out the needle and unravel whole rows, which knitters call frogging. That is far less stressful with a lifeline in place.
How to prevent dropped stitches with a lifeline
A lifeline is a smooth, contrasting thread passed through every stitch of one row. If you ever rip back, the stitches stop at the lifeline instead of unraveling further.
- Thread a tapestry needle, a blunt needle with a large eye, with smooth cotton thread in a contrasting color, several inches longer than your work is wide.
- Pass the tapestry needle through every stitch on your knitting needle, from one end to the other.
- Skip any stitch markers, so they do not get trapped on the thread.
- Leave a tail of thread hanging at each end.
- Carry on knitting, taking care not to catch the thread in the next row.
What to learn next
Fixing mistakes gets easier the better you can read your stitches. Review the knit stitch and how to purl so you recognize Vs and bumps at a glance, then put your new confidence to work with one of our easy first projects. For guided lessons, our books and courses are in the library.
Frequently asked questions
How do you fix a dropped stitch several rows down?
With the knit side facing you, insert a crochet hook into the loose loop and pull the lowest horizontal strand through it. Repeat with each strand in order, from the bottom up, then place the last loop on the left needle.
How do I know if a picked-up stitch is twisted?
Look at the stitch on the left needle: its right leg should sit in front of the needle. If the left leg is in front, the stitch is twisted; put it back the other way around, or work it through the back loop.
What does tinking mean in knitting?
Tinking is knit spelled backward: you undo your work one stitch at a time, returning each stitch to the left needle. It is the safest way to go back a short distance to a mistake.
What is a lifeline in knitting?
A lifeline is a smooth, contrasting thread passed through every stitch of one row. If you rip back later, the stitches stop there, so you can put them back on the needle without losing any.
Keep learning
Beginner basics
How to Knit: The Knit Stitch Step by Step
Learn the knit stitch step by step, English style: insert, wrap, pull through and slip off. Then turn your work, read your stitches and fix common mistakes.
Beginner basics
How to Purl: The Purl Stitch for Beginners
Learn how to purl step by step, English style: yarn in front, insert, wrap, push through and slip off. Then combine knit and purl for stockinette and ribbing.
Patterns & projects
Easy First Knitting Projects That Build Real Skills
Easy first knitting projects in the right order, from dishcloth and scarf to hat, blanket squares and mitts, with what each one teaches and what you need.